Osb Dining Table
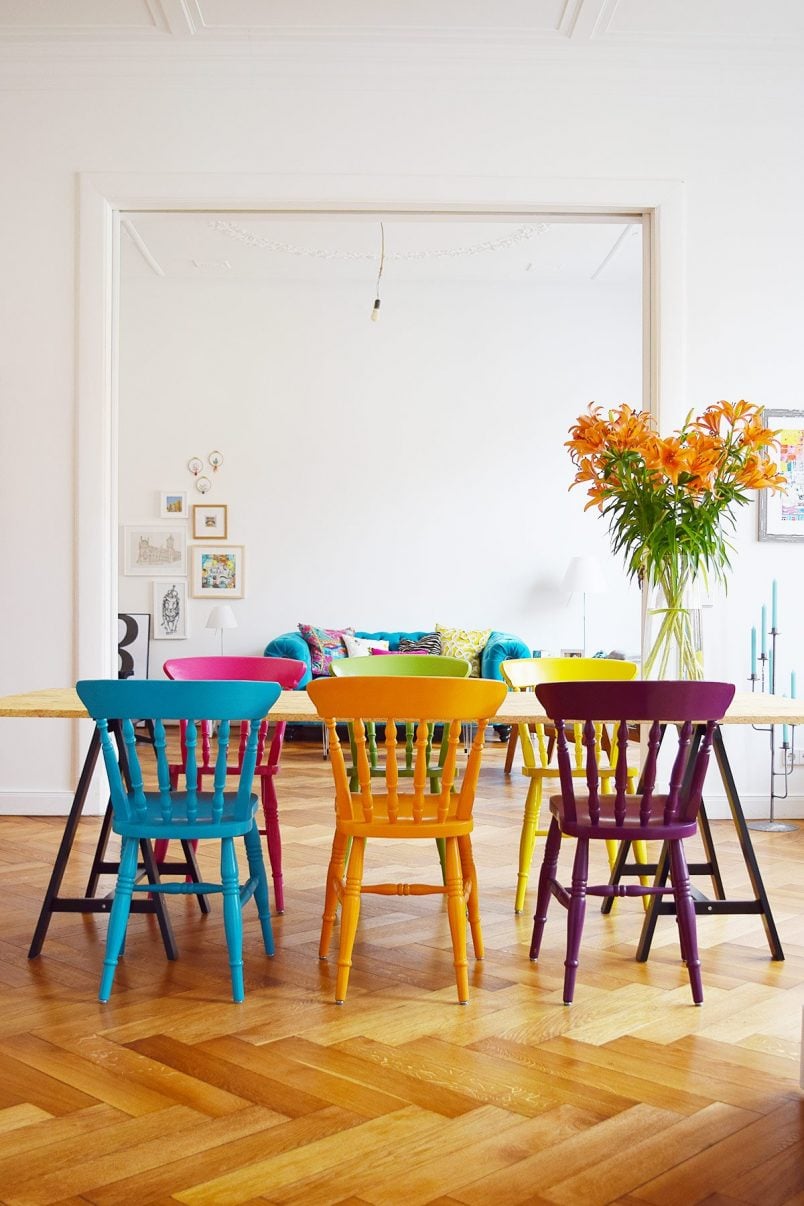
We have a new DIY dining table!
I'm really pleased with how it turned out but I have to admit that I feel a bit of a cheat calling this project a DIY dining table as there's so little to it, that it can barely be classed as a DIY at all.
Basically, it consists of placing a piece of wood on some trestles. Simple, right?
Well, it would have been if I'd not decided that we didn't need to hire a car to transport the sheet of timber back to our apartment and instead carried it home on the train!
Yep, you heard right – on the train! And, as you can see, Jan wasn't too impressed.
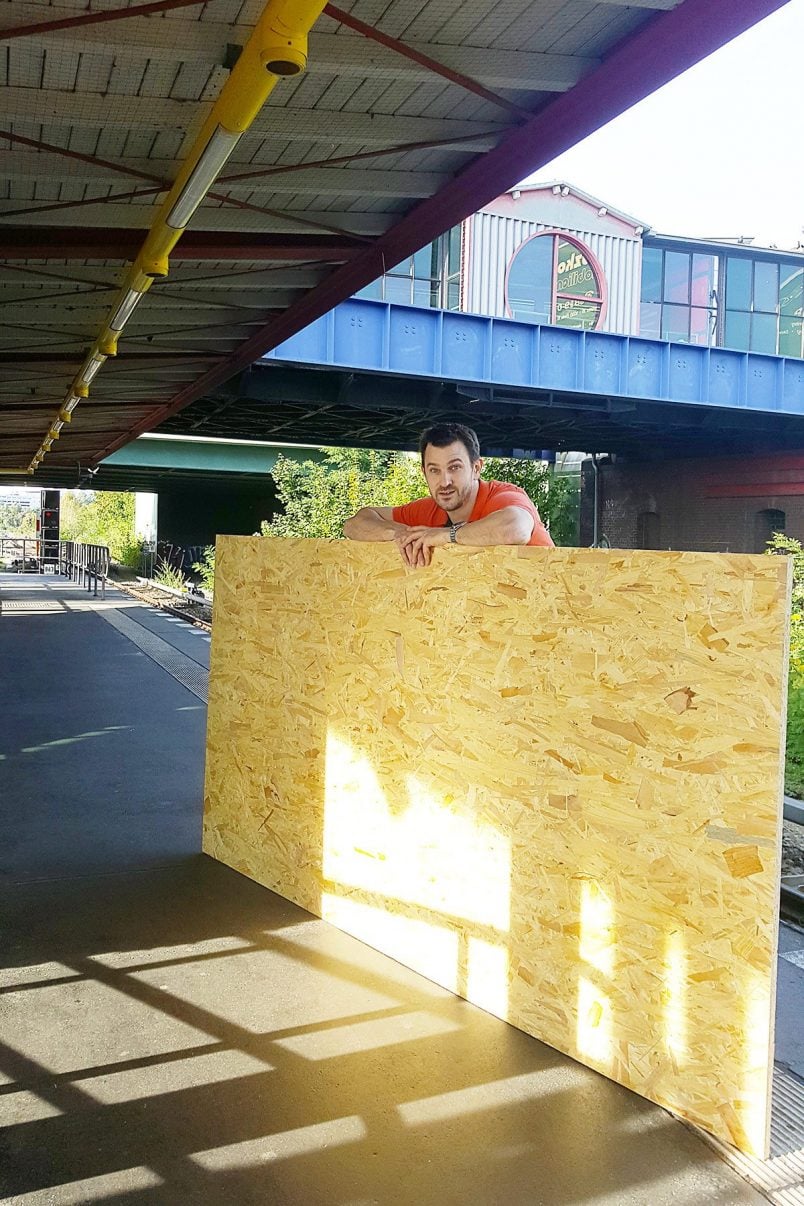
Now, if you think we'd lost our minds (most passengers on the train seemed to think so), you might possibly be right. In my defense, I didn't realise that the OSB board was quite as heavy as it was and I totally admit that I'd missed the bit on the website where the weight was stated.
It weighed a whopping 40.43kg!
Let's just say that carrying it home on the train, over the road and then up four flights of stairs wasn't the most fun Jan and I have ever had.
Once we'd managed to get the supplies into our apartment the rest of the project was a complete breeze and, even if it can't really be classed as a DIY project, here's our guide to making your own DIY dining table.
This is what you will need:
This post contains affiliate links.
- 2x Trestles (we used Oddvald from Ikea)
- 1 x OSB board in the size you want your table to be (ours is 250 x 110cm x 22mm)
- Oil or varnish to seal the surface (we used some of the oil we had left over from our newly sanded and oiled floors)
- Sandpaper (about 40 grit and 120 grit would be ideal)
SHOP OUR DIY ESSENTIALS

This is how to make a DIY dining table:
1. Start by working out the size you want your table to be. This is inevitable the most important step in the process as you'll have to purchase your supplies accordingly. You could even get your board cut to size at the DIY store!
We'd recommend getting the thickest board possible. The thicker it is, the less it will start to sag in the middle.
2. Position your trestles and place the board on top. Check the board is the size you want it to be.

3. Cut the board to size (if you've not had it cut where you purchased it). We used our handy small circular saw to cut a strip off one of the sides.
4. Next, give the OSB board a sand to make sure there are no rough edges or sharp bits on the surface. Start by sanding with 40 grit paper and then when everything is completely smooth give it another sand with 120 grit paper. This will ensure that you're left with a lovely smooth surface.
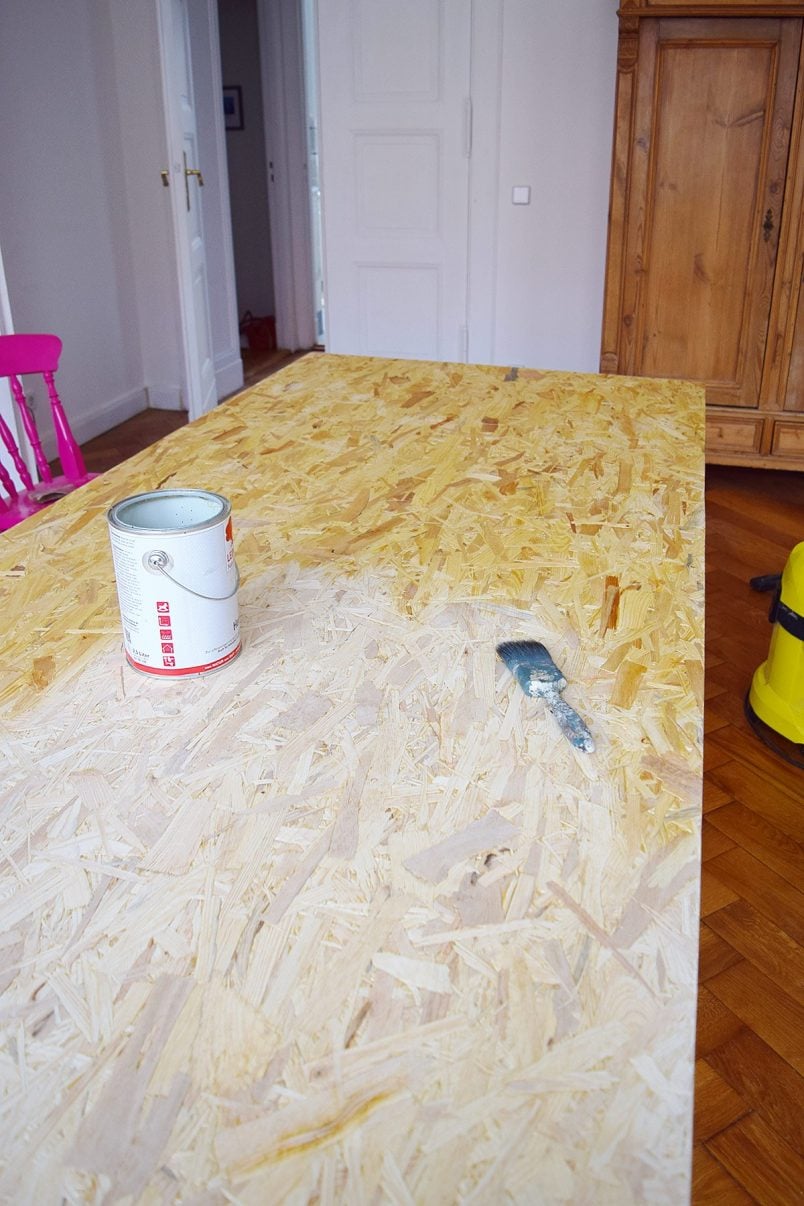
5. The last thing to do is oil or varnish the surface. Because we still had some left over, we applied the same oil we used for our floors. Exactly how you'll have to apply your finish will depend on what you're using. In our case, we had to apply 3 coats of oil over the space of a couple of days.
And that was it!
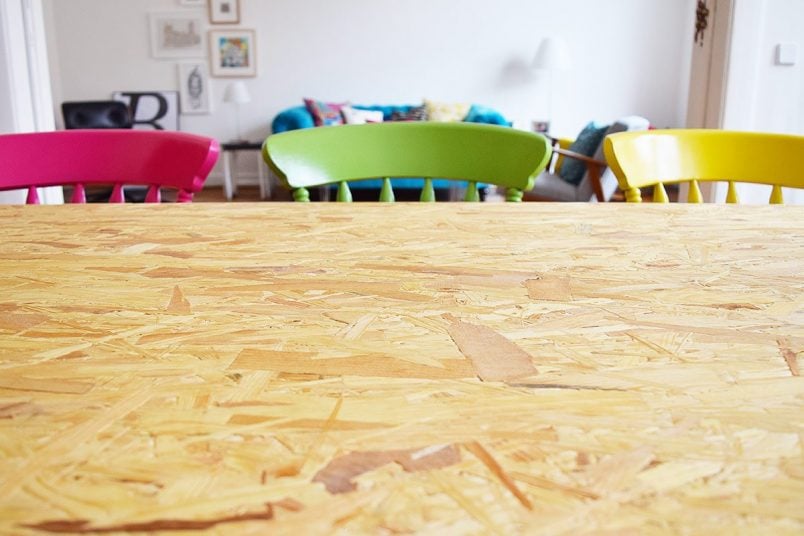
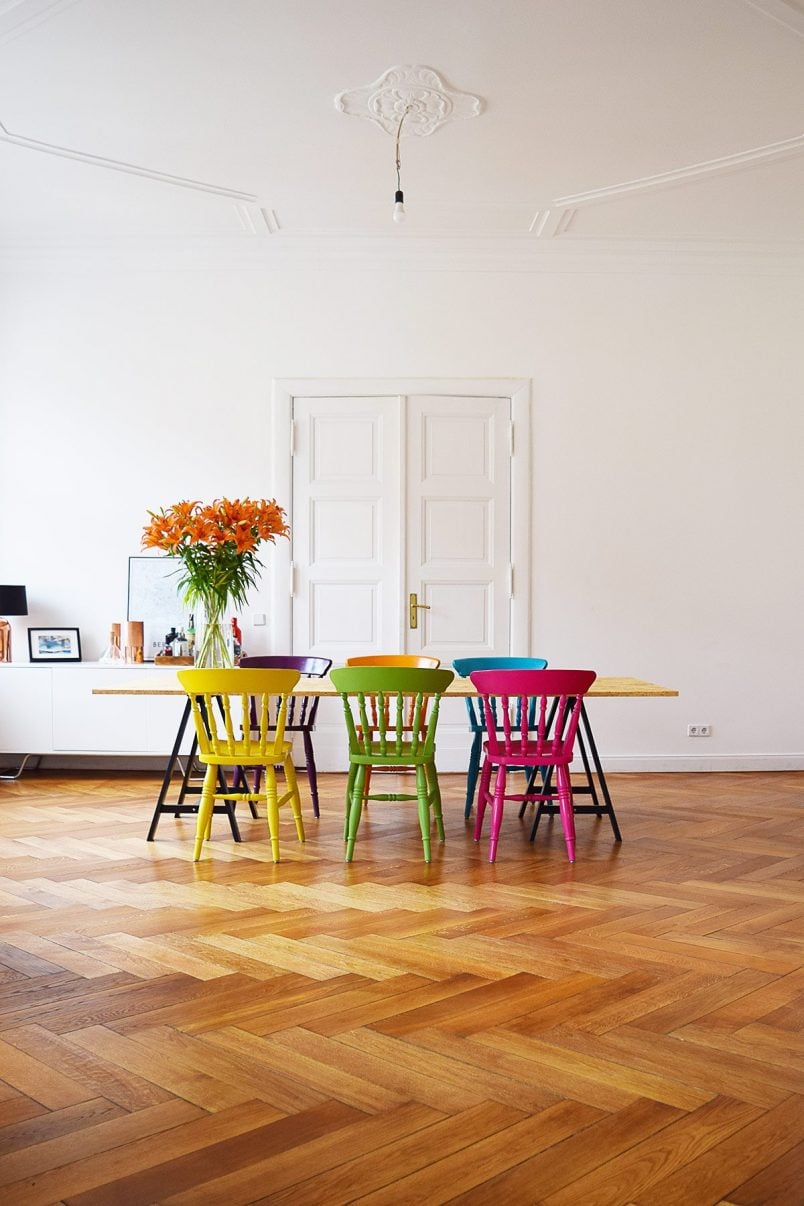
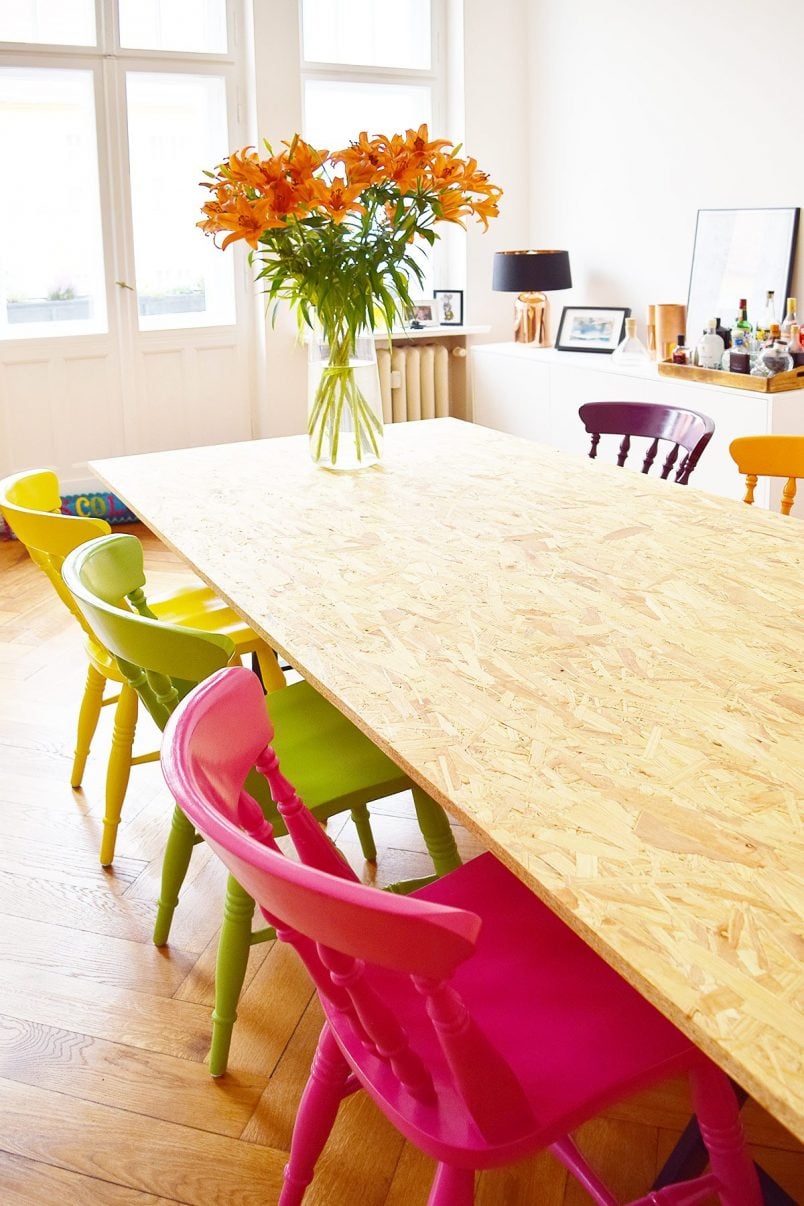
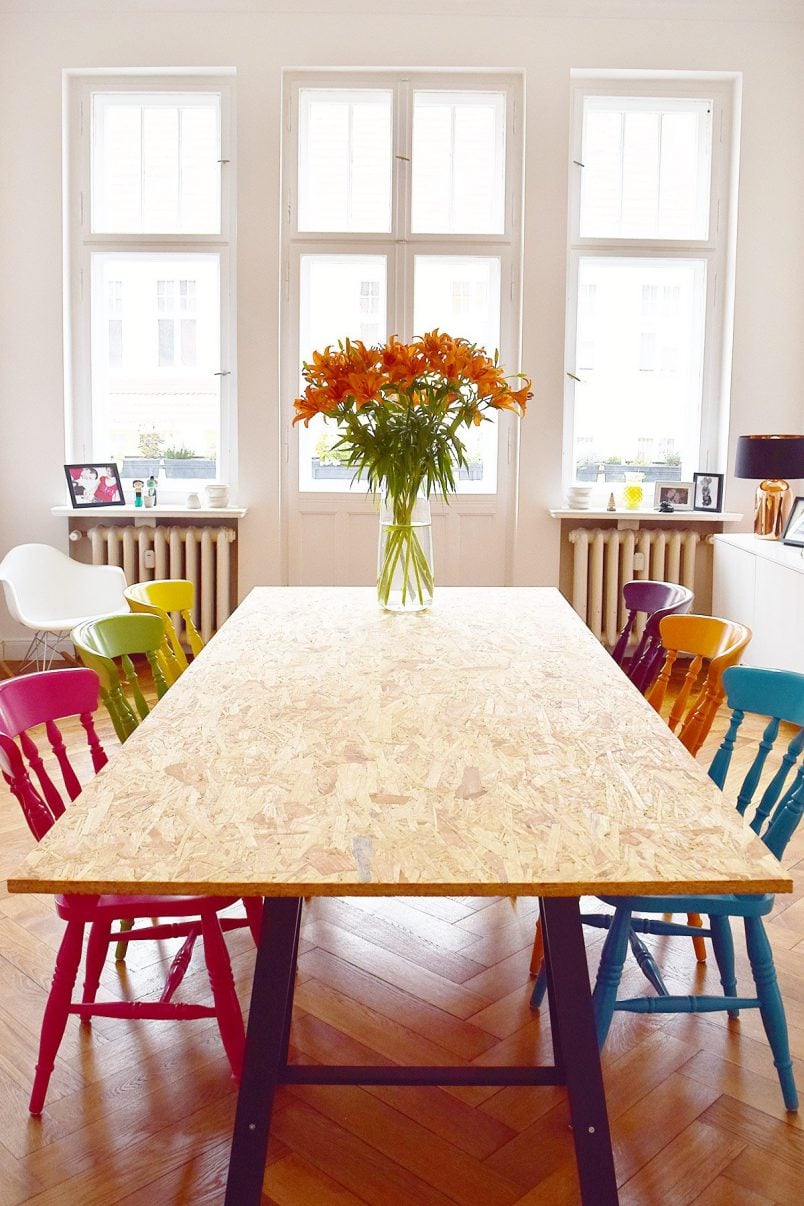
I love the texture of the OSB table top and I'm surprised to say that I even love the more relaxed and thrown together look of the table. It has a kind of loft-style feeling which I think works surprisingly well with rest of our apartment.
Pretty much everything we own feels too small for our fairly large and high rooms and the main reason we decided to change the table was because our previous one looked completely out of proportion with the room.
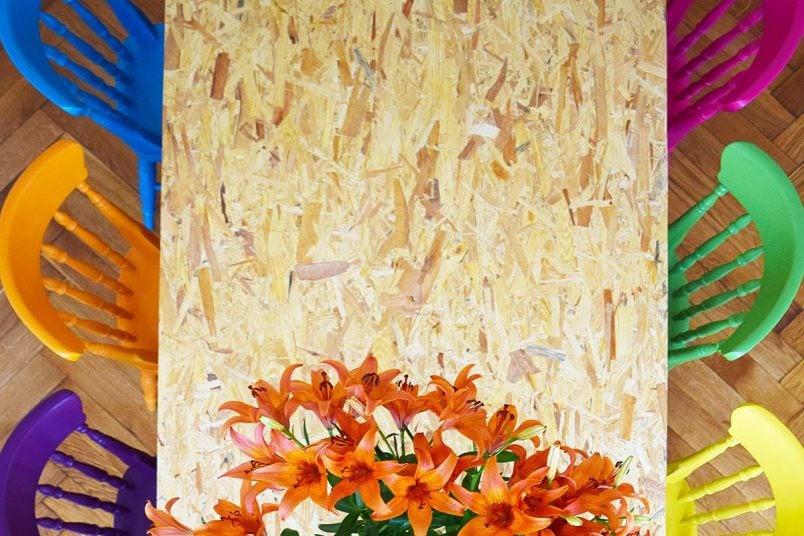
It may not be the most glamorous of solutions but the size and scale of our new DIY dining table definitely works better in our dining room. It's also a table I'll be able to craft and DIY at without feeling guilty if I scratch it.
Ultimately we would like to replace it with a "proper" table but it's something that's way down our priority list at the moment.
I hate being wasteful, so when we do finally get round to purchasing a new table I can always use the board to make something else!
Tips:
- Make sure to sand the edges thoroughly as they're really rough.
- Don't forget to sand the underside (at least around the edge) where you'll be sat. It's a rough material and you don't want to end up with splinters!
- Don't skip varnishing, waxing or oiling the surface. OSB is essentially lots of pressed wood slithers so you really want to seal the surface to avoid any splinters!
Have you ever made your own furniture? Do you love OSB as much as I do? Do you have a favourite piece of furniture in your home? Have you ever transported anything unusual on public transport?
PS. We've given our table another makeover! It's now a gorgeous terrazzo table! You can see what it looks like now, here!
Source: https://www.littlehouseonthecorner.com/diy-dining-table/


Tidak ada komentar: